Get Started with Krill
Before you can start managing your own ROAs you need to do a one time setup where you:
create your CA
connect to Publication Server
connect to Parent CA (typically a Regional or National Internet Registry)
This can be easily achieved using the user interface. Connecting to the Publication Server and Parent CA is done by exchanging a couple of XML files. After this initial setup, and you can simply manage your ROAs.
If you just want to try out Krill (or a new version) you can use the testbed provided by NLnet Labs for this.
If you are using the defaults you can access the user interface in a browser on
the server running Krill at https://localhost:3000. By default, Krill generates
a self-signed TLS certificate, so you will have to accept the security warning
that your browser will give you.
If you want to access the UI, or use the CLI, from another computer, you can either set up a reverse proxy on your server running Krill, or set up local port forwarding with SSH, for example:
ssh -L 3000:localhost:3000 user@krillserver.example.net
Here we will guide you through the set up process using the UI, but we will also link to the relevant subcommands of the command line interface (CLI)
If you did not install Krill as a service, Krill can be can be started by running:
krill -c krill.conf
The default config file needs to contain at least an admin_token.
Login
Tip
To login to the web user interface using named users instead of the secret token, see Login with Named Users.
The login will ask you to enter the secret token you configured for Krill.
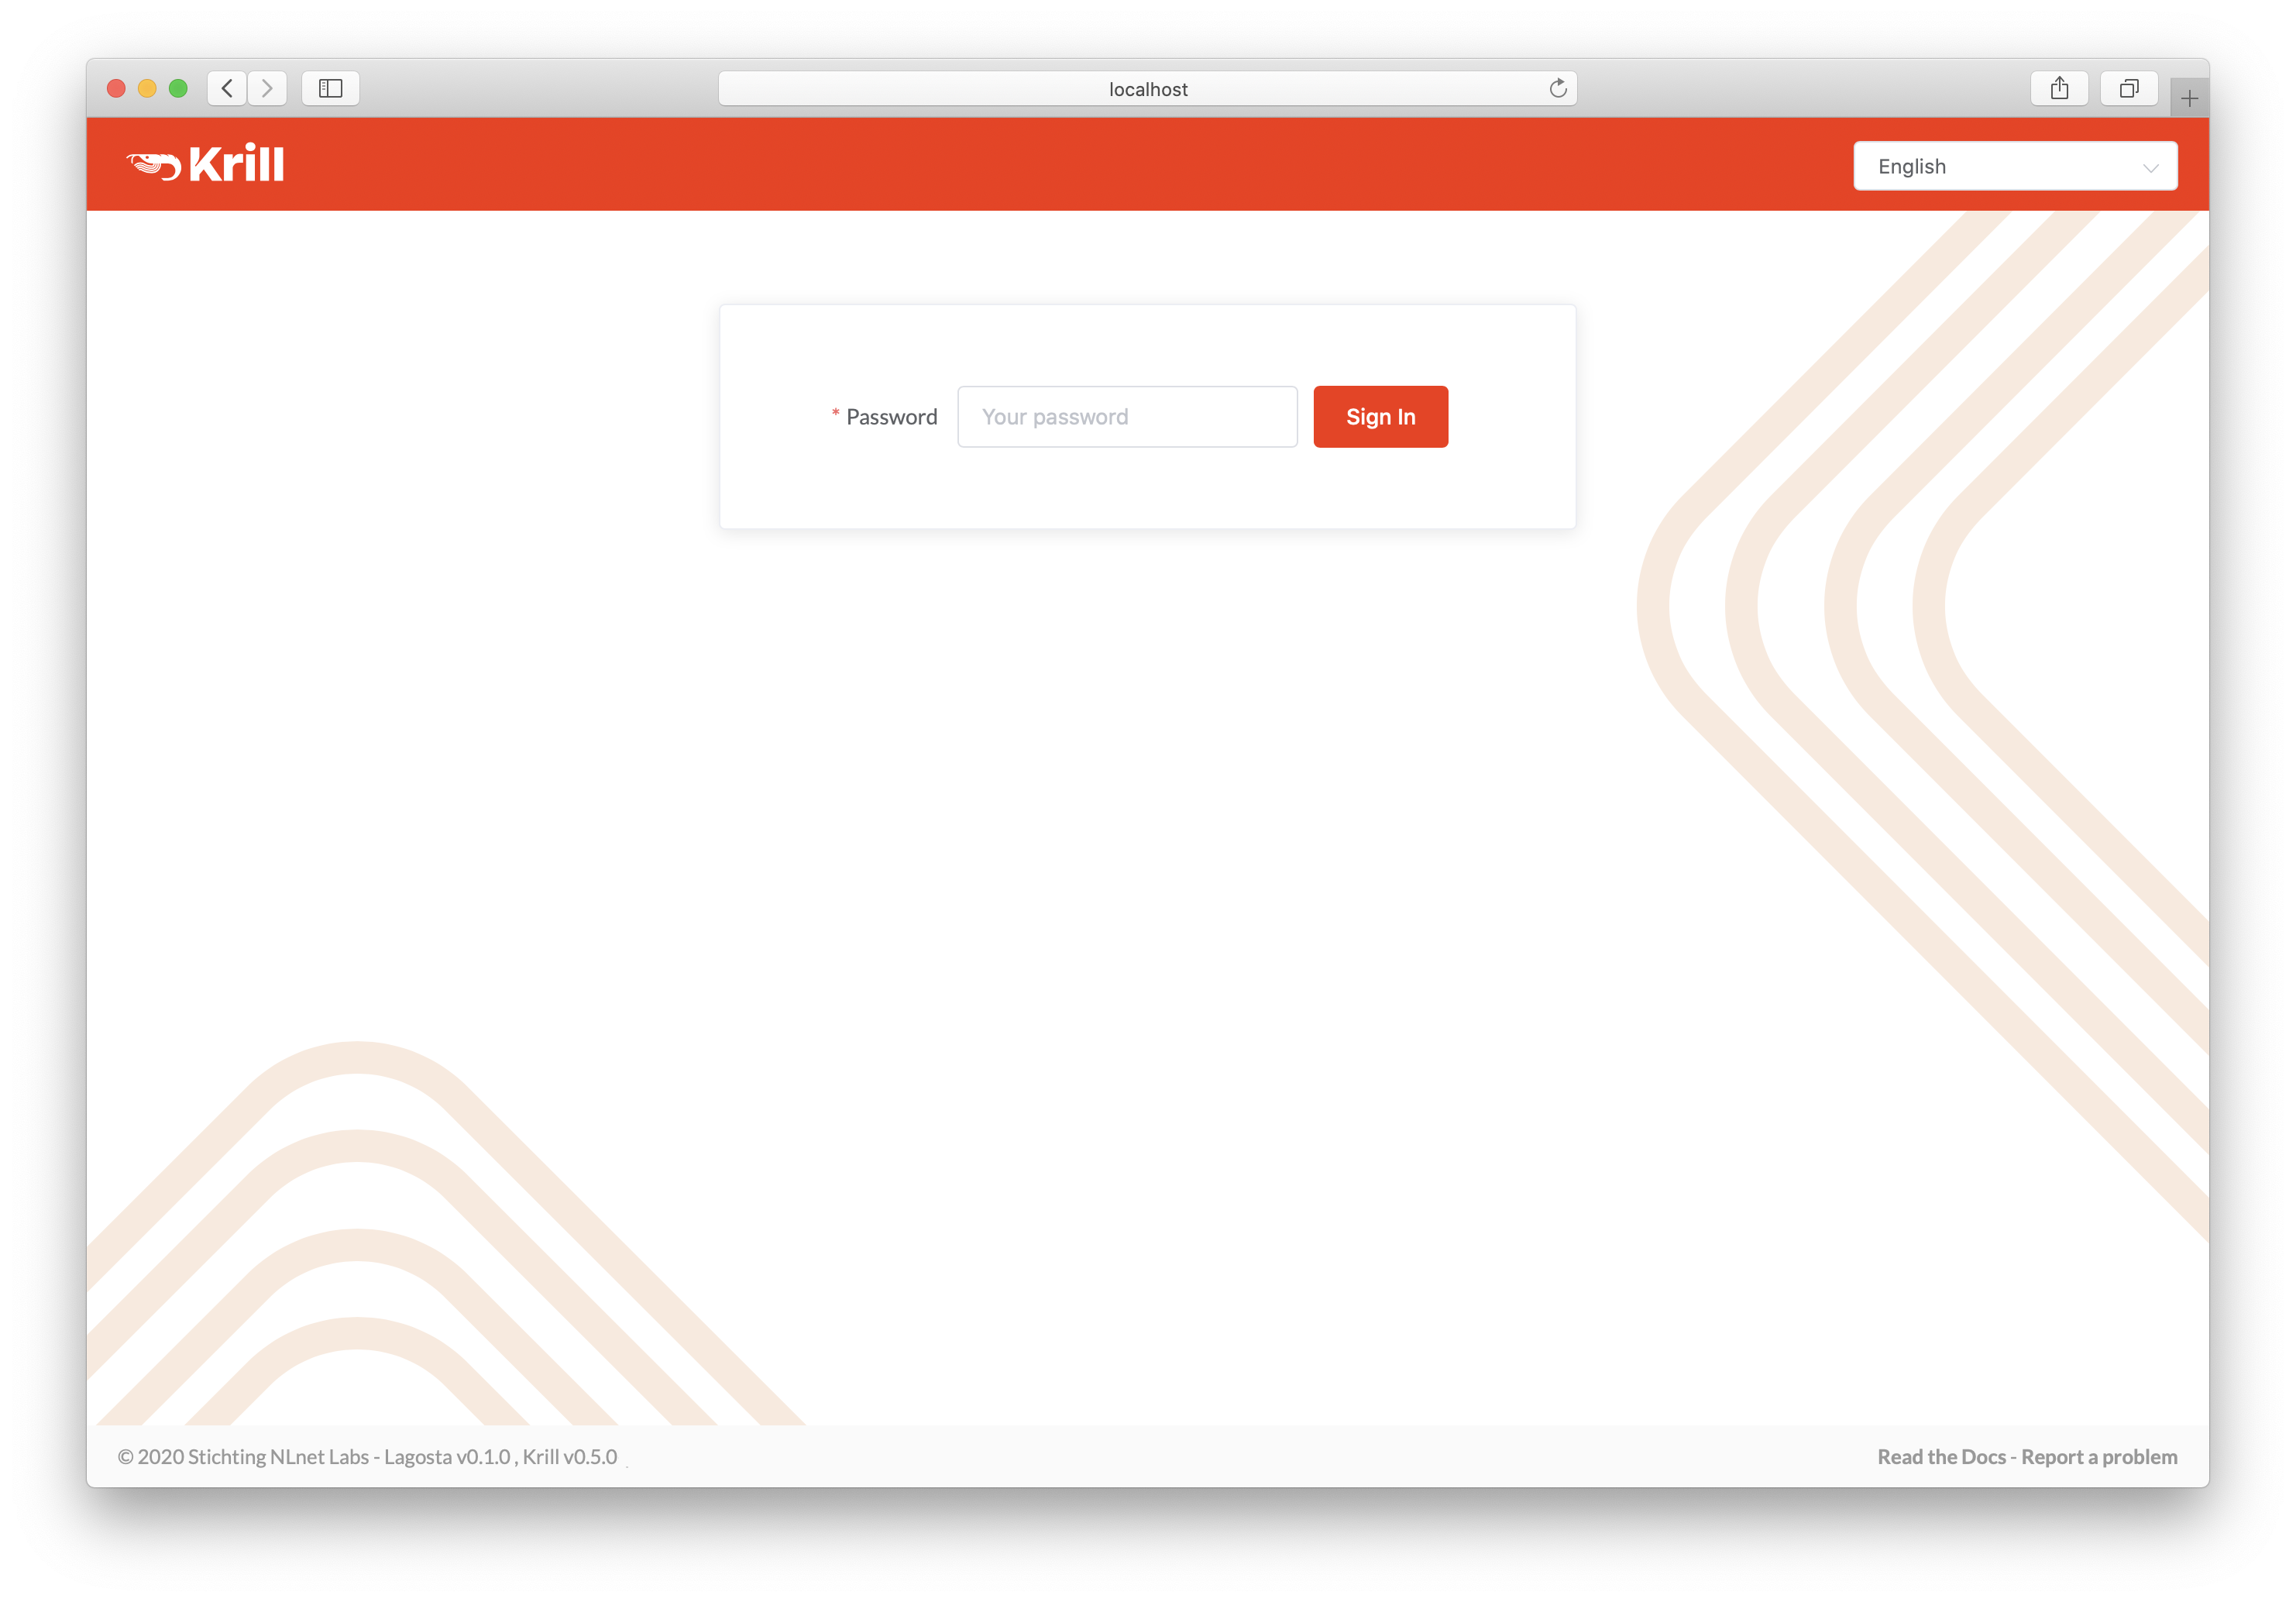
Enter your secret token to access Krill
If you are using the CLI you will need to specify the token using the –token option. Because the CLI does not have a session, you will need to specify this for each command, or you set the the KRILL_CLI_TOKEN environment variable and save yourself the trouble of repeating it.
Create your Certification Authority
Next, you will see the Welcome screen where you can create your Certification Authority (CA). It will be used to configure delegated RPKI with one or multiple parent CAs, usually your Regional or National Internet Registry.
The handle you select is not published in the RPKI but used as identification to parent and child CAs you interact with. Please choose a handle that helps others recognise your organisation. Once set, the handle cannot be changed.
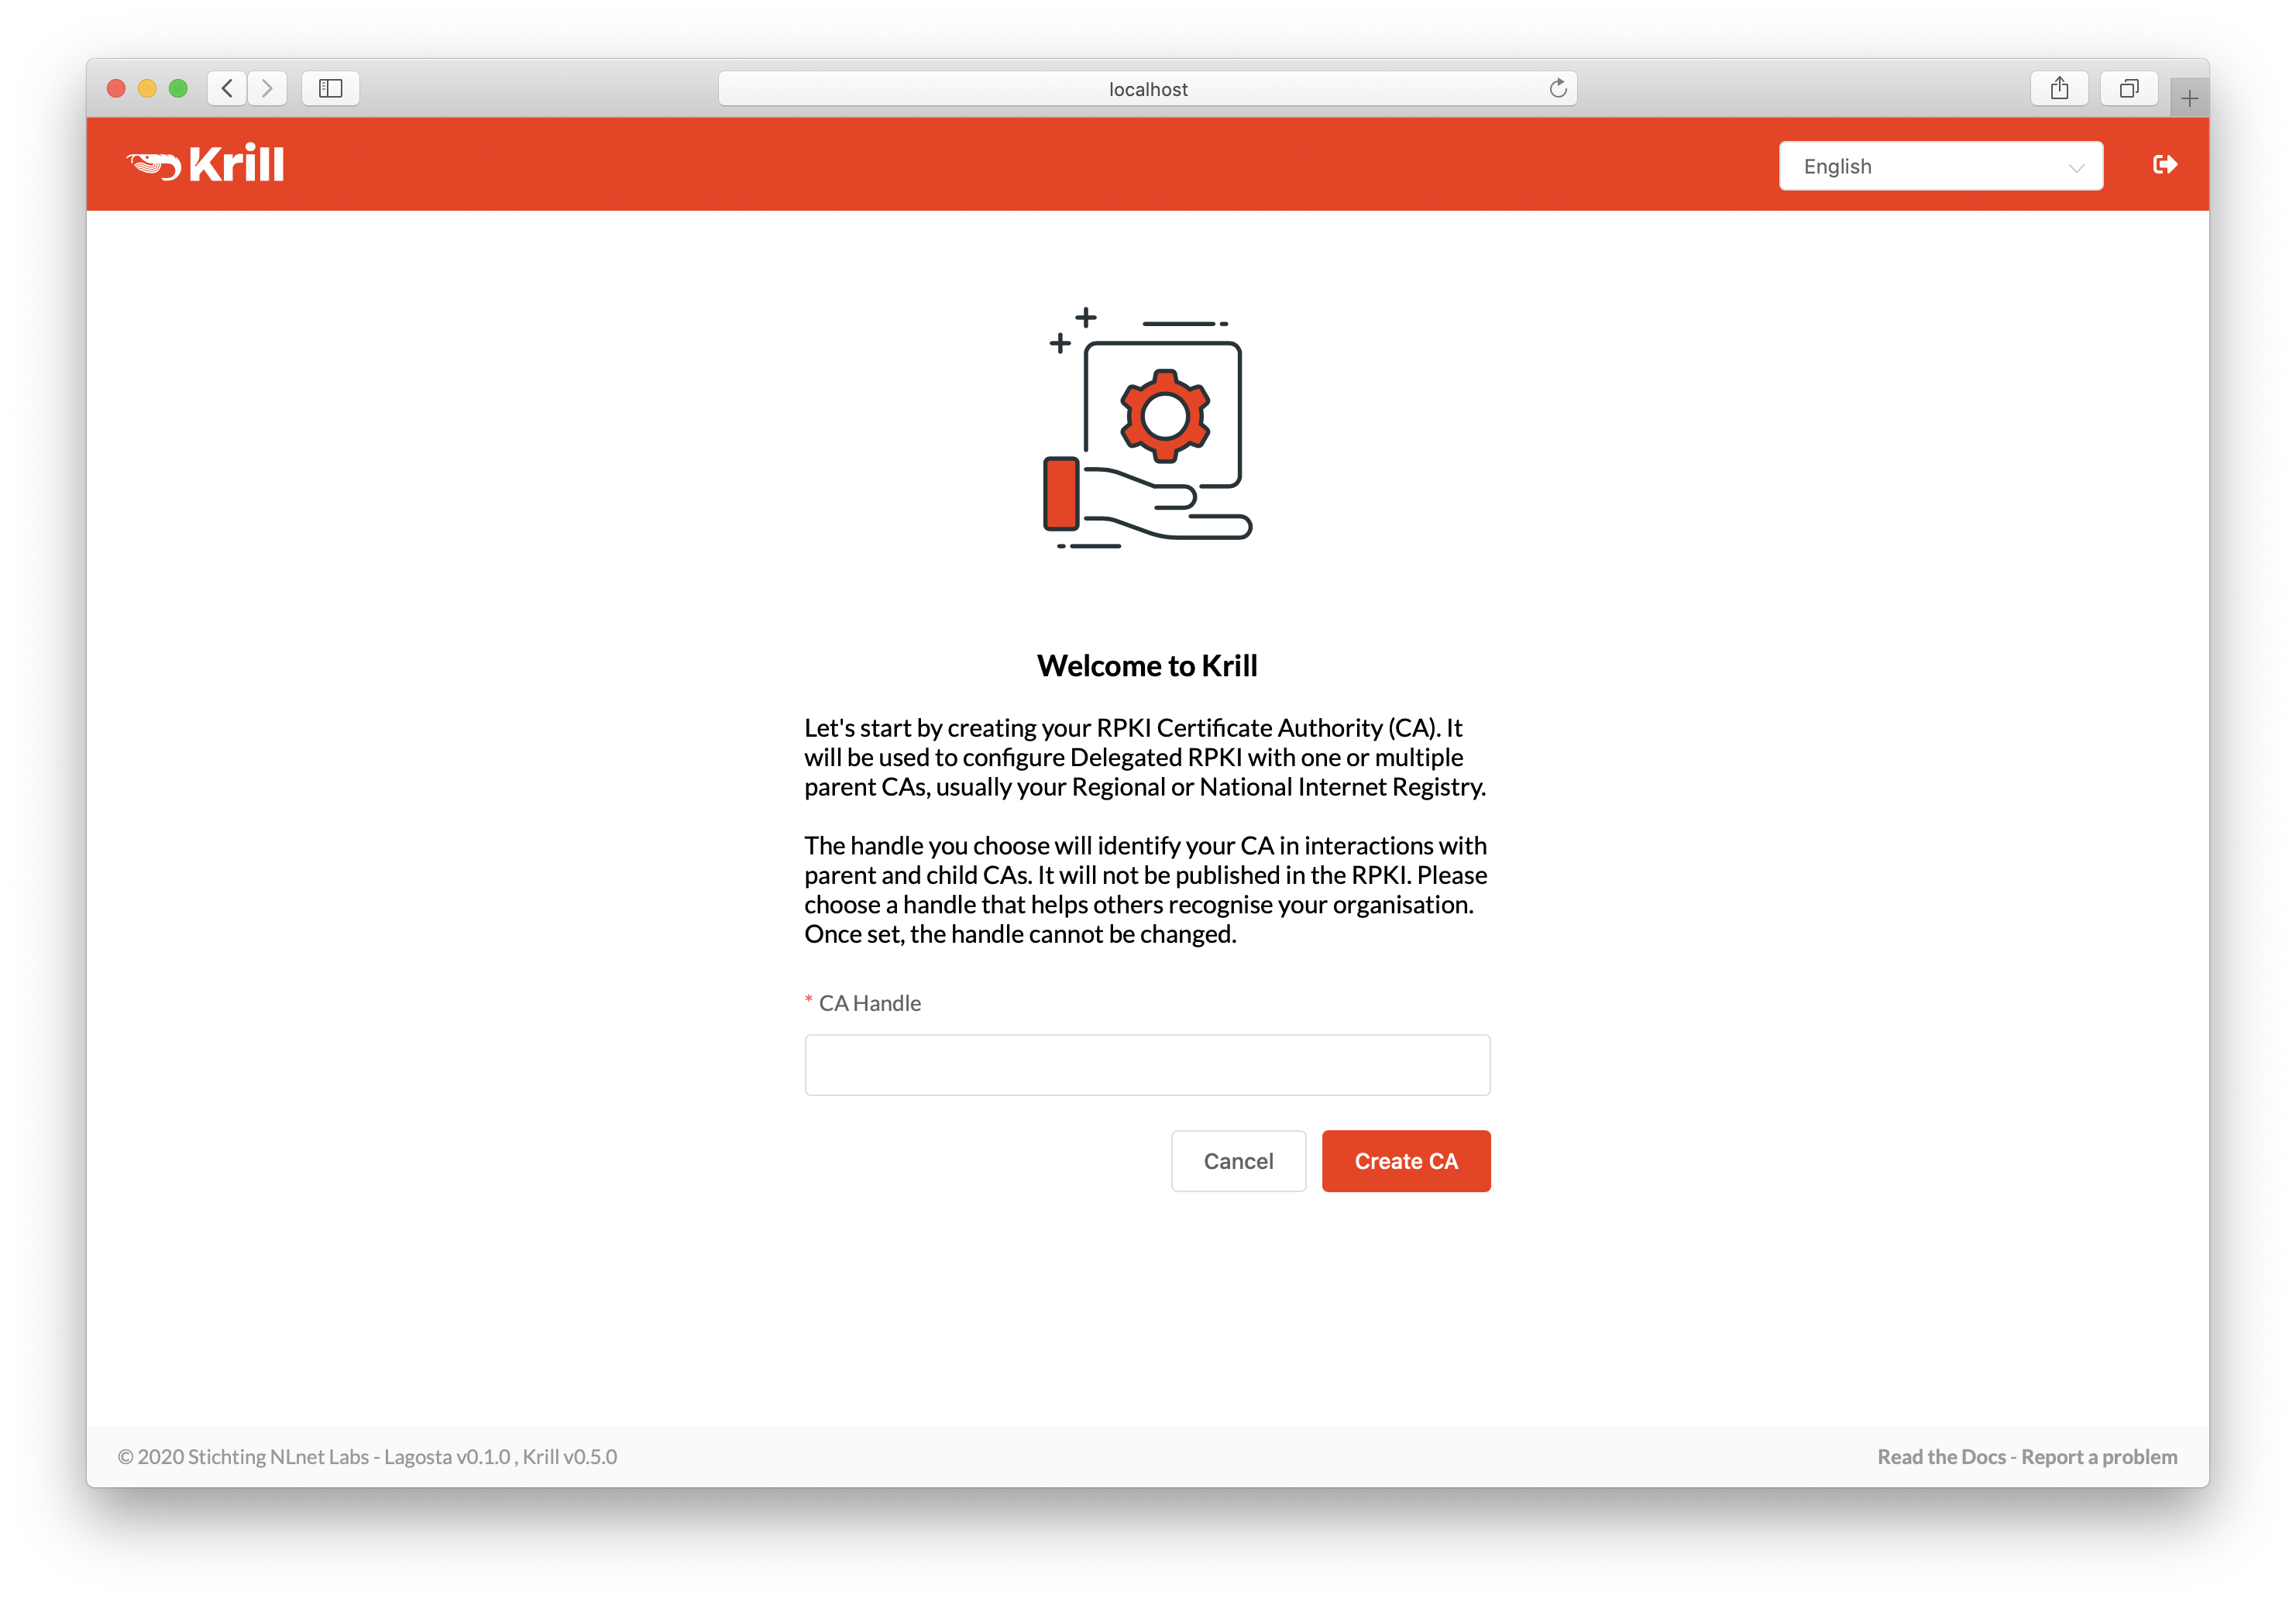
Enter a handle for your Certification Authority
If you are using the CLI you can create your CA using the subcommand krillc add.
Repository Setup
Note
If you are a member of NIC.BR, ARIN or APNIC, then you’re in luck. These organisations provide an RPKI Publication Server as a service to their members, so you can configure your Krill CA publish there.
If you need to run your own Publication Server then please have a look here to see how you can use Krill to achieve this.
In either case the same process described below applies from your Krill CA’s perspective.
Before Krill can request a certificate from a parent CA, it will need to know where it will publish. You can add a parent before configuring a repository for your CA, but in that case Krill will postpone requesting a certificate until you have done so.
In order to register your CA as a publisher, you will need to copy the RFC 8183 Publisher Request XML and supply it to your Publication Server. You can retrieve this file with the CLI subcommand krillc repo request, or you can simply use the UI:
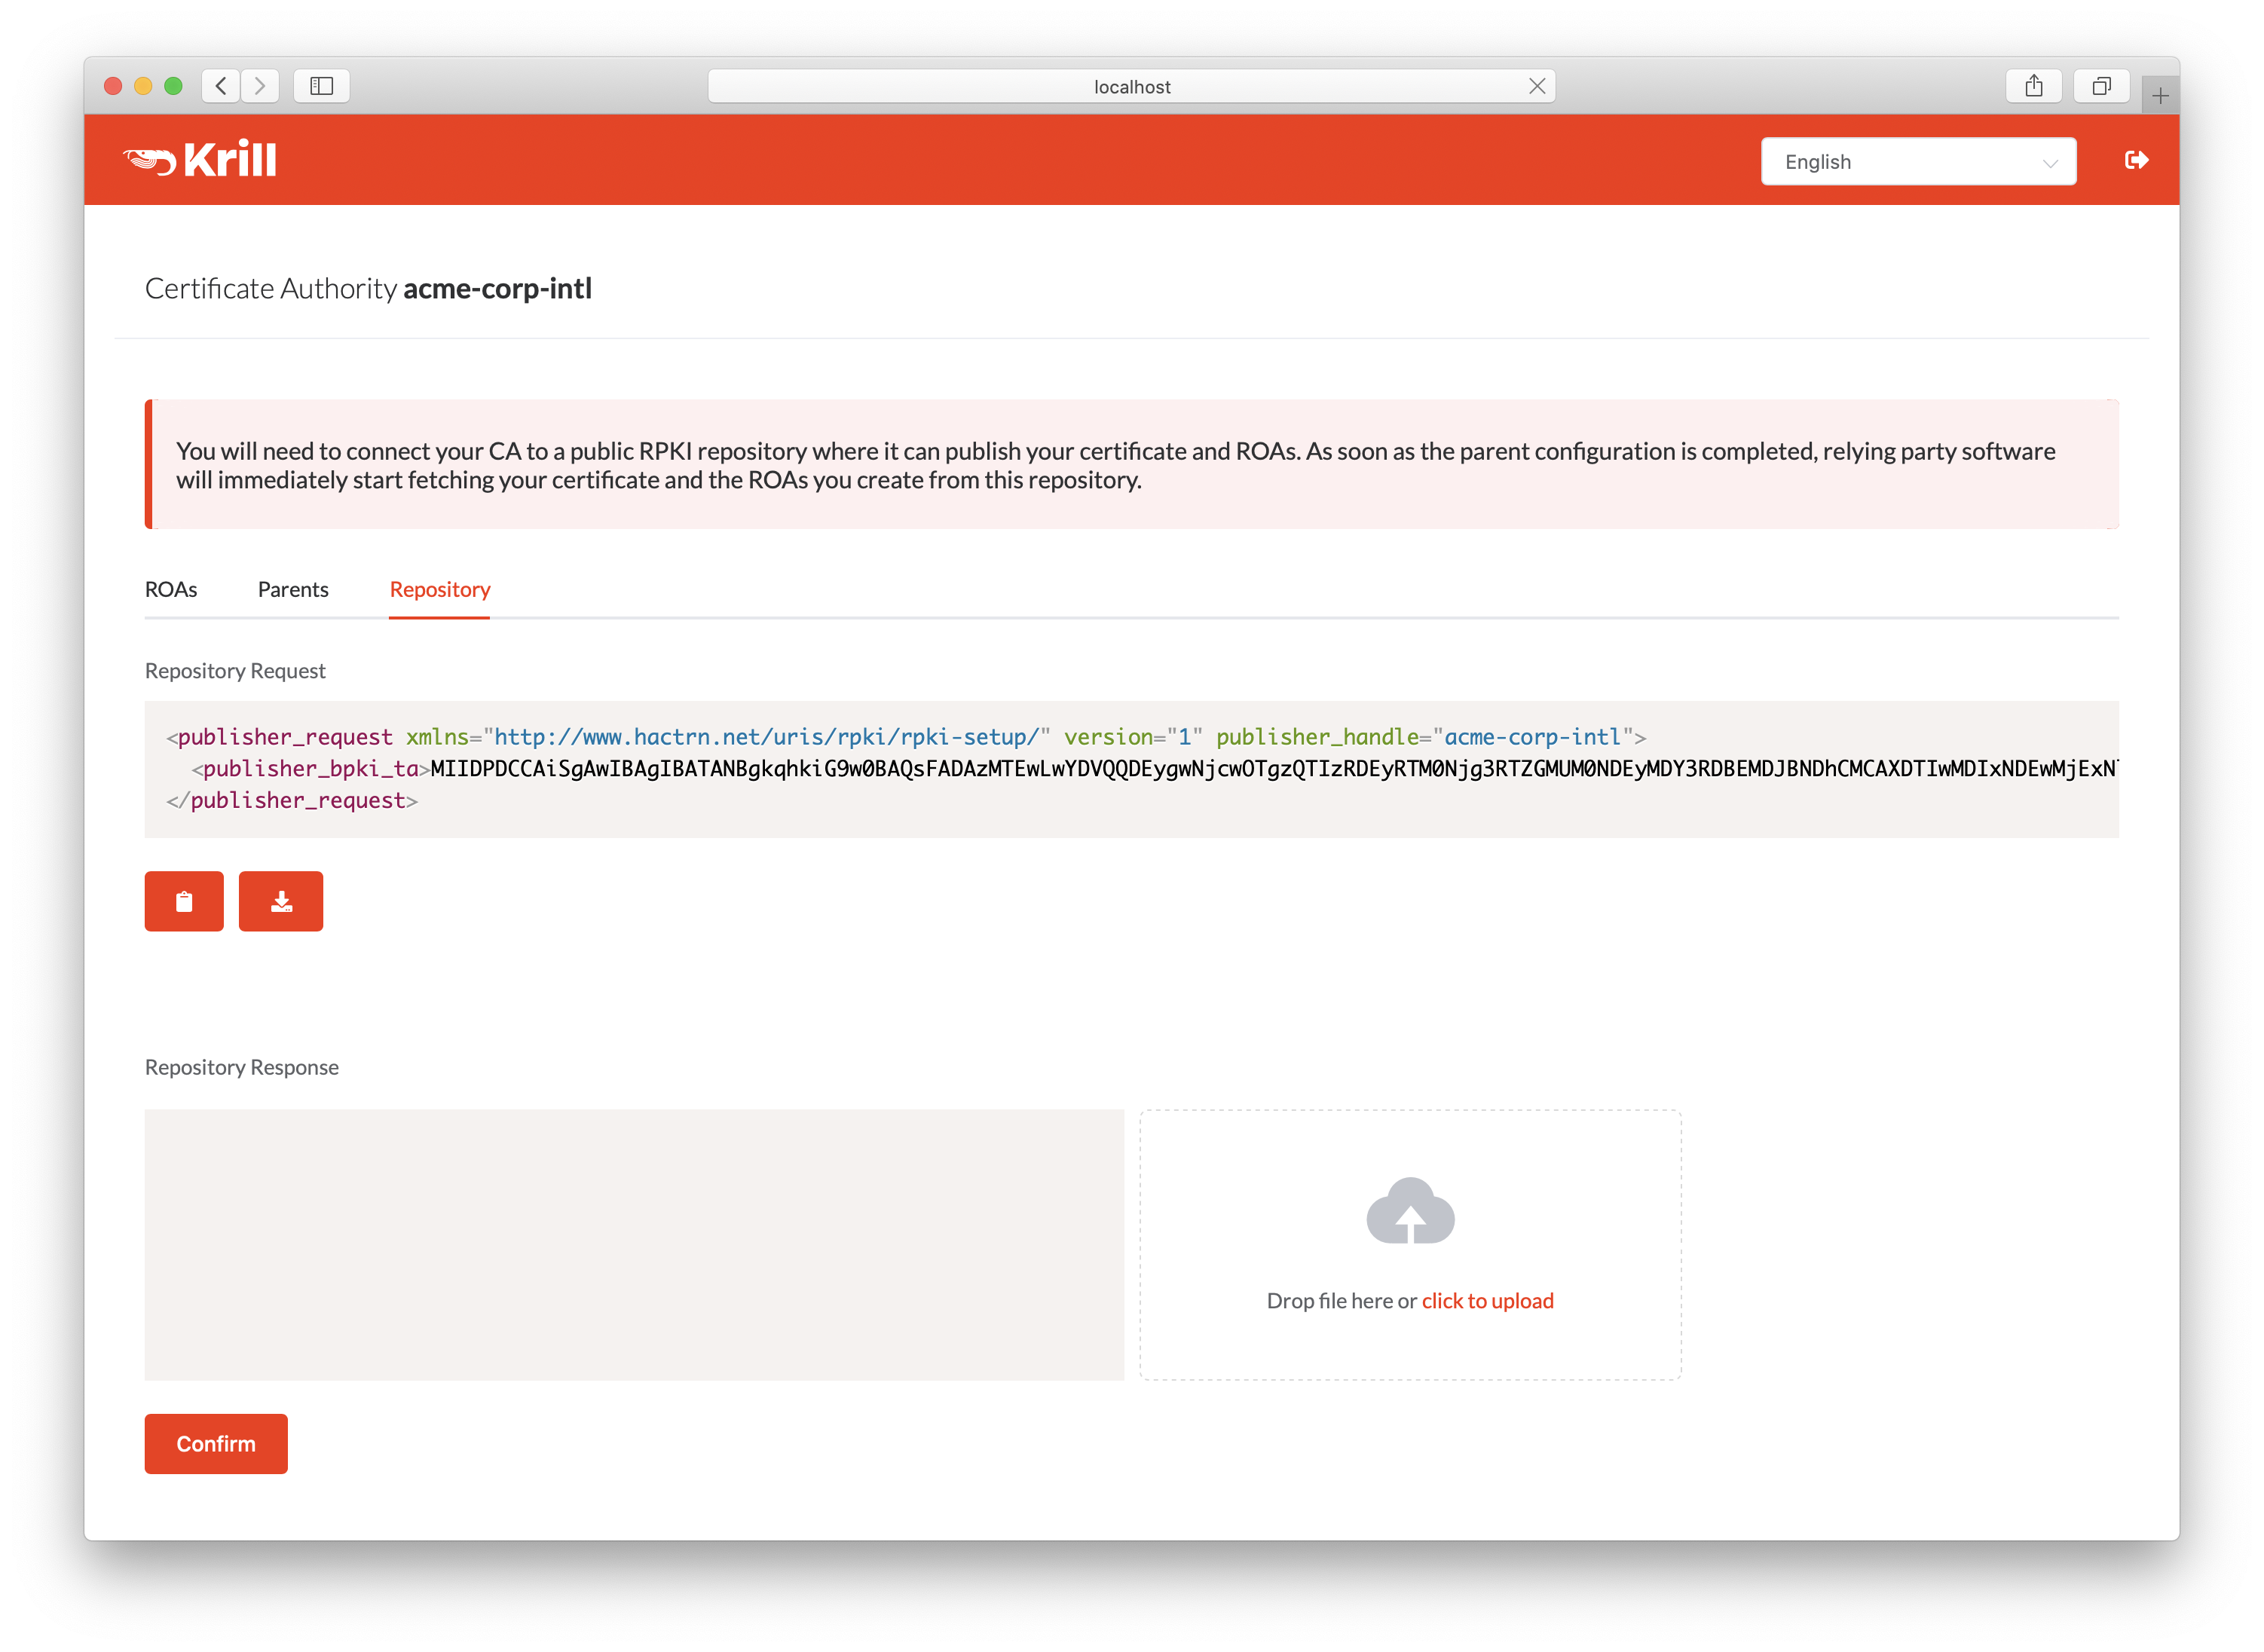
Copy the publisher request XML or download the file
Your publication server provider will give you a repository response XML. You can use the CLI subcommand krillc repo configure to add this configuration to your CA, or you can simply use the UI:
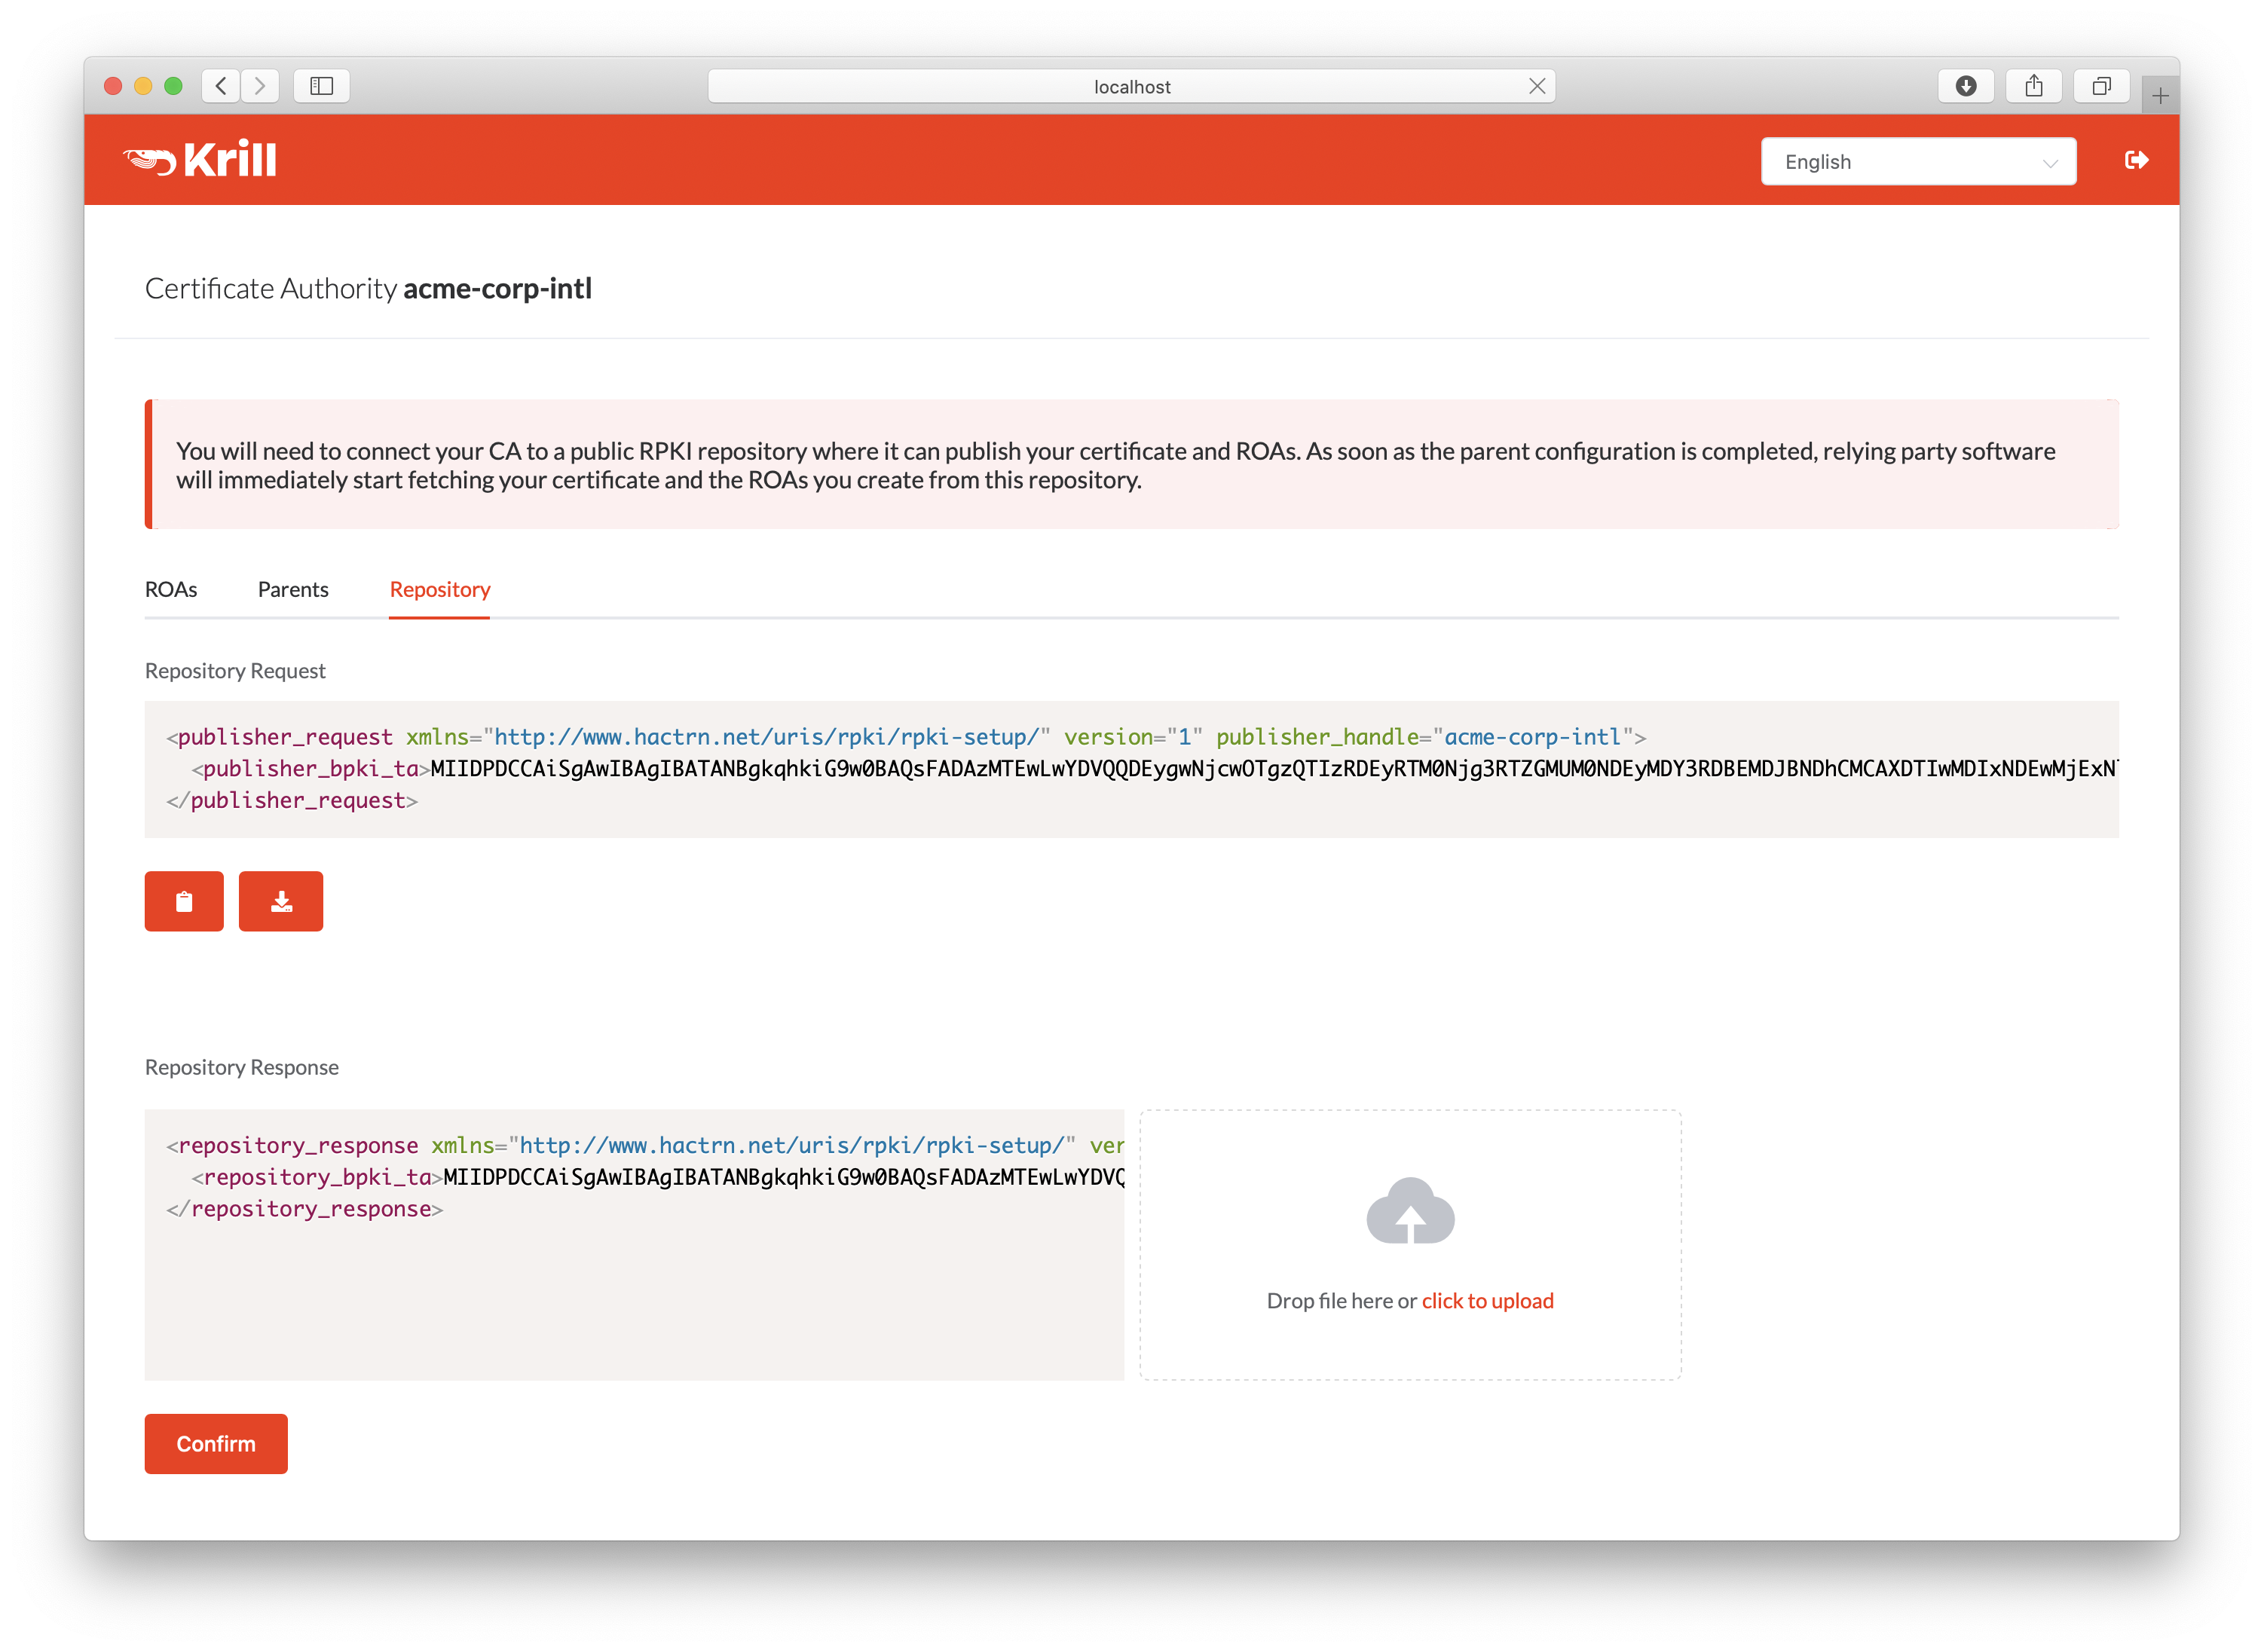
Paste or upload the repository response XML
Note
Migrating to a new Repository later is not supported through the web UI, but you can use the CLI to do this.
Parent Setup
After successfully configuring the repository, the next step is to configure your parent CA. You will need to present your CA’s RFC 8183 Child Request XML file to your parent. You can get this file using the CLI subcommand krillc parents request, or you can simply use the UI:
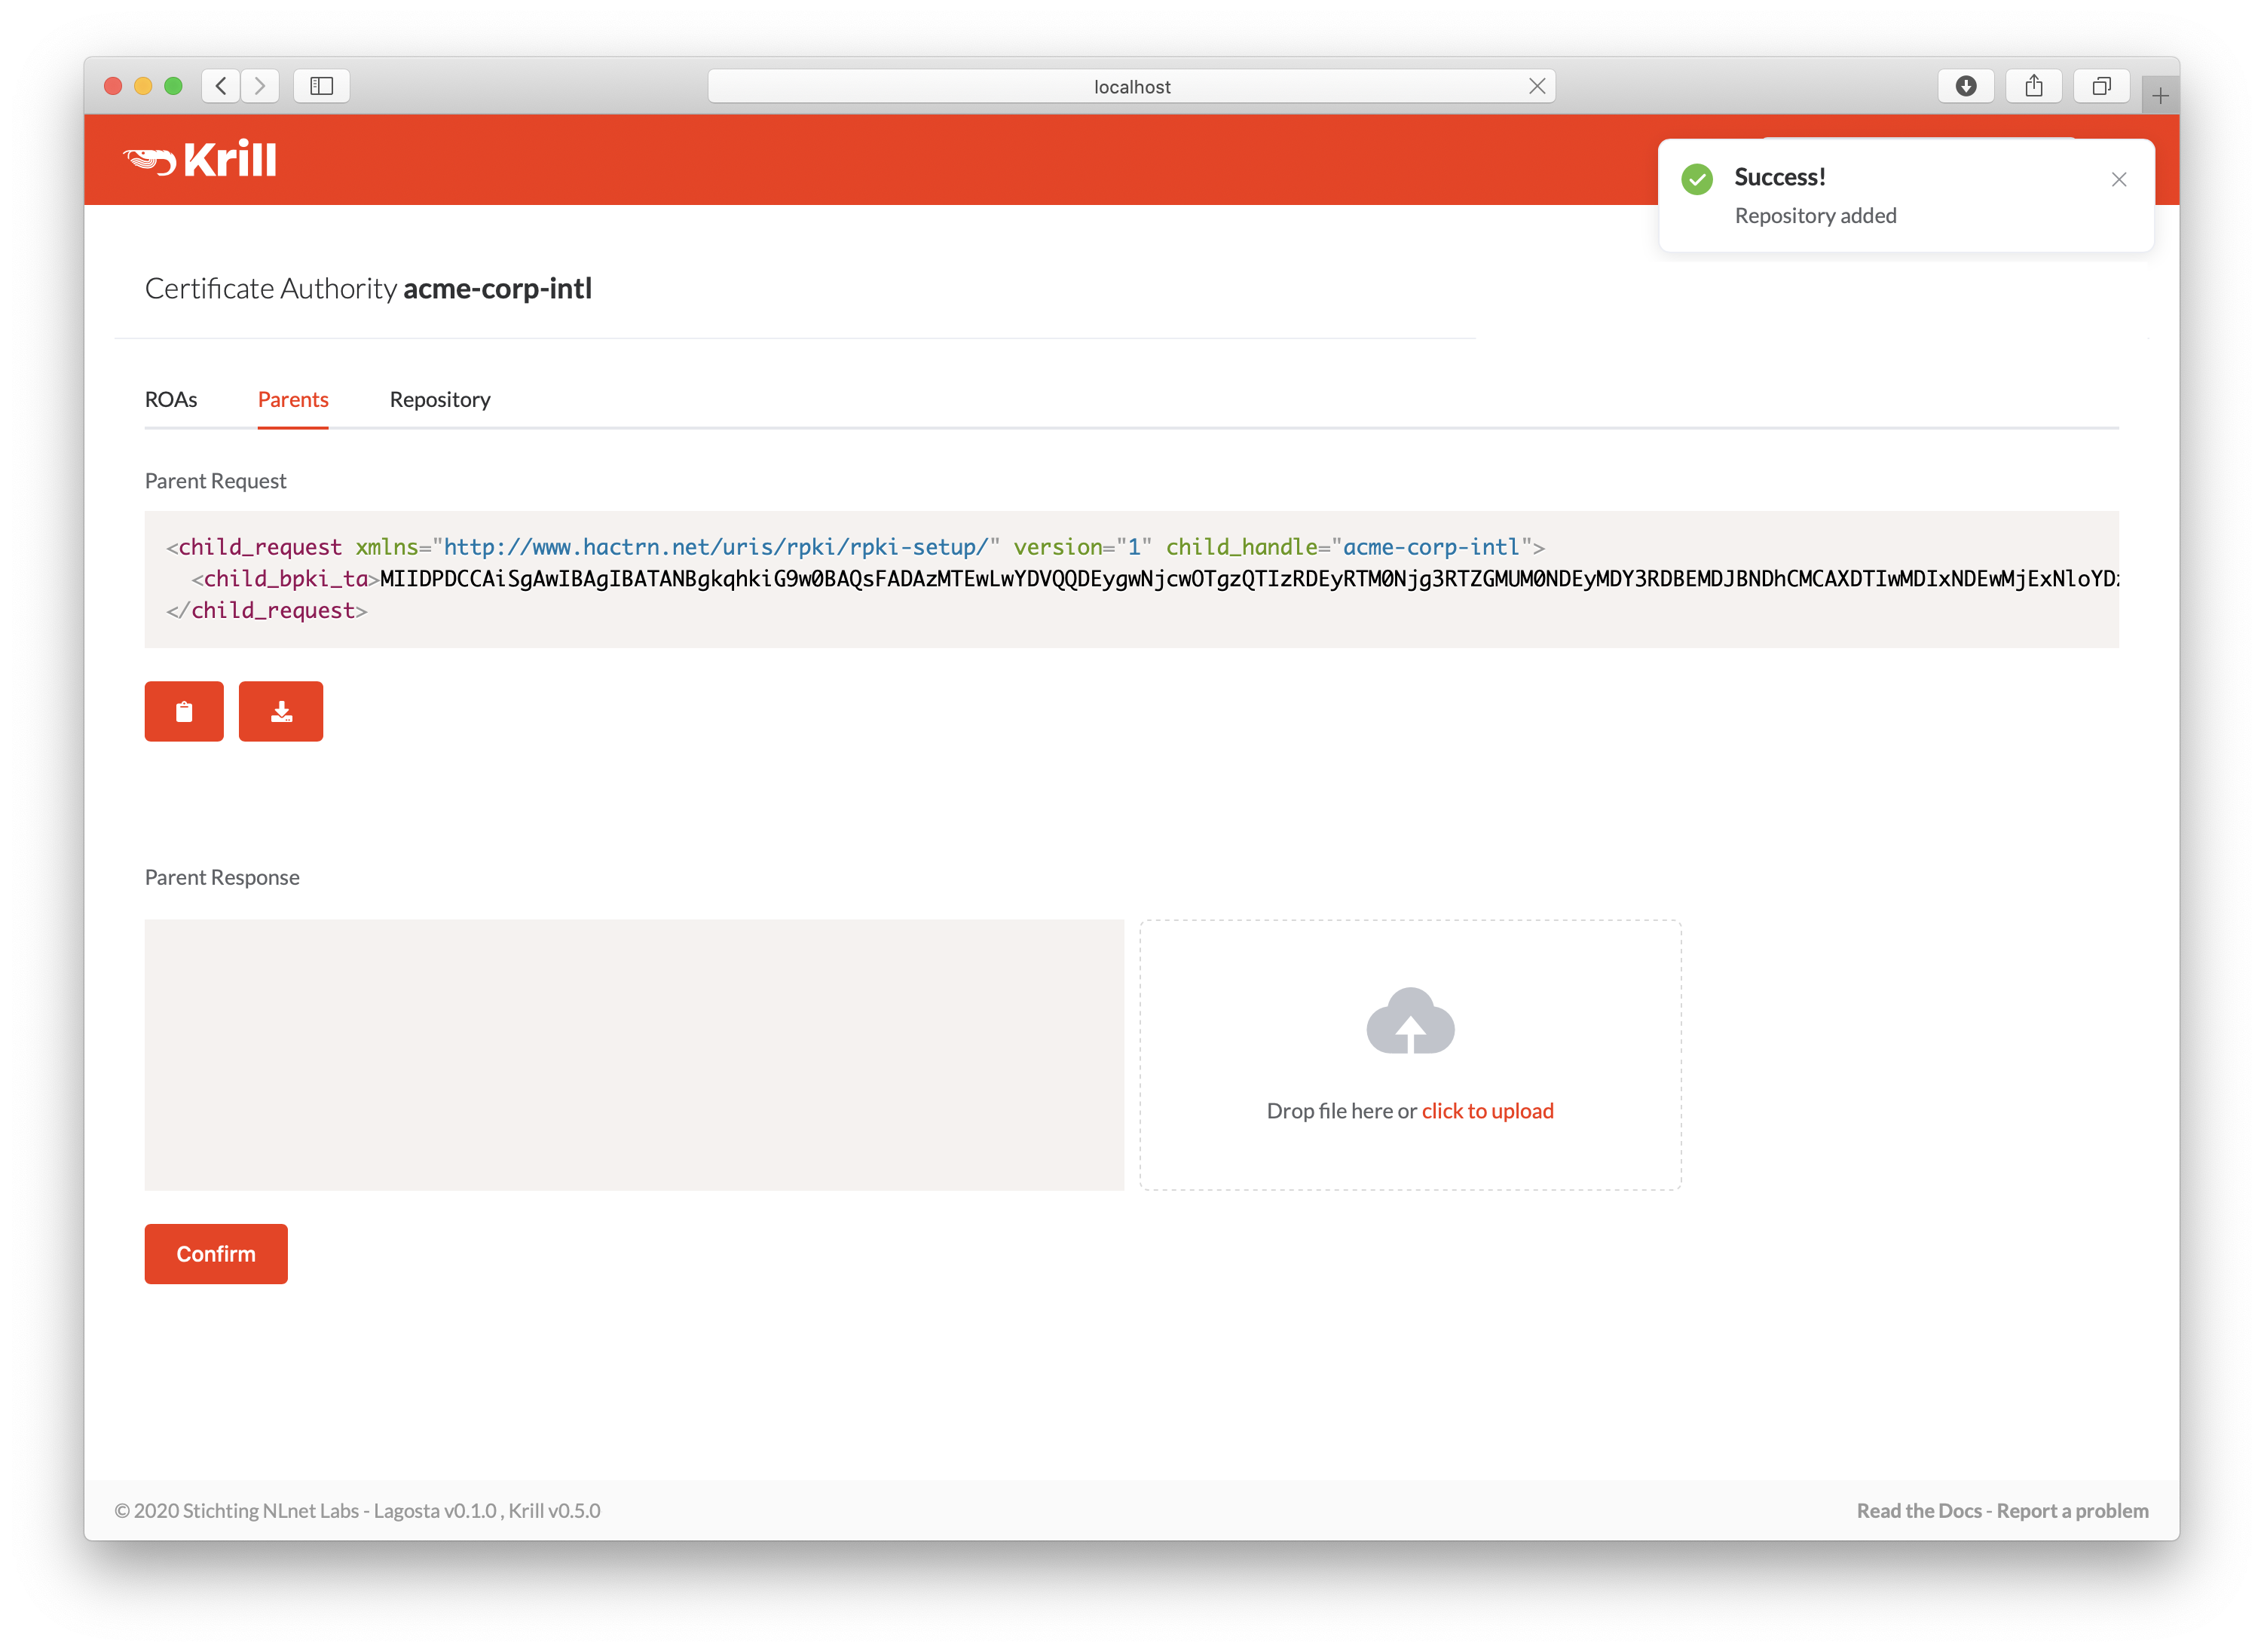
Copy the child request XML or download the file
Your RIR or NIR will provide you with a parent response XML. You can use the CLI subcommand krillc parents add for this, or you can simply paste or upload it using the UI:

Paste or upload the parent response XML